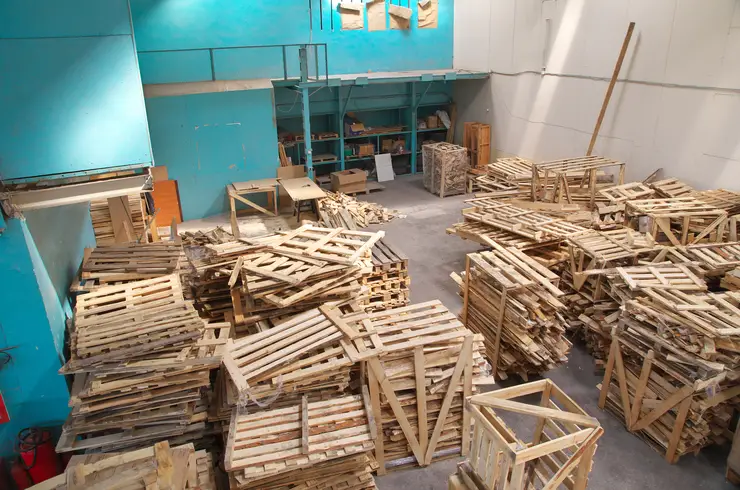
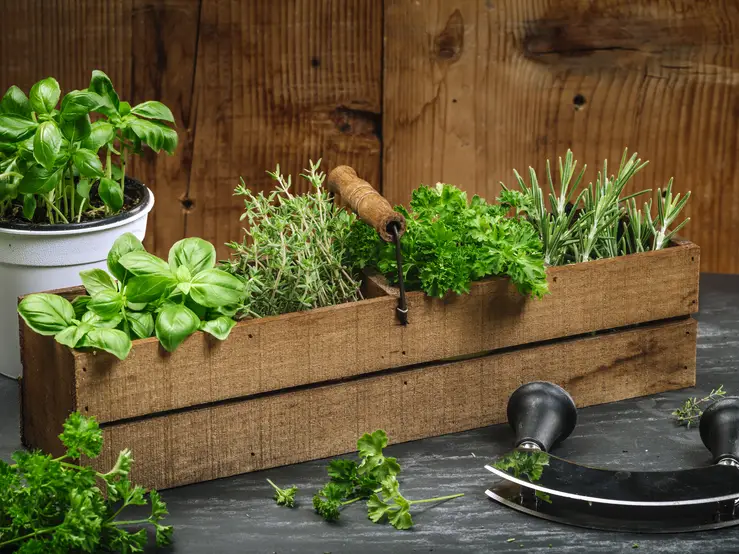
Wooden pallets for plantations have become new-known for the past few years. Despite being elegant yet, wooden pallets are way affordable compared to any other material out in the market. On top of that, making wooden pallets for planting encourages you to adopt recycling habits. Instead of letting the wooden planks go to the landfills, you can better transform them into something that will enhance your outdoor decor.
However, preparing a planting box from wood is quite an easy process, but you need to follow all the steps to acquire a fantastic product from the hard work you have put together to make it precisely. While pursuing our DIY step-by-step guide, you will be able to make a sturdy and long-lasting pallet plant box without having any professional hand involved. So let’s get into it!
Things To Have While Making A Planting Box From A Wood Pallet
Preparing a wooden pallet doesn’t require bunches of tools and gears to uphold the entire process. Instead, you need to have a few things listed below to kickstart the process.
- Pressure-Treated Timber ( size of a timer depends on the type of plant you are willing to grow)
- A Grave Board ( The size of a grave board should be around 15cm x 1cm, 3.45m length)
- A Drill Machine To Fix Screws
- A Saw To Make Perfect Planks
- A Measuring Tape For Sizing
Diy Pallet Planter Box Preparation – Step By Step Guide
We have broken down the entire process into five easy steps. From choosing the right wooden type to planting a tree, this comprehensive guide is all set to serve you subtly.
Choose The Pallets
Choosing the right pallet is sometimes the most crucial task to uphold throughout the process. Look around your surroundings first! If you find a durable wooden material with the right size and shape, you must bring those slats into usage. If you don’t have them at home, you can visit a nearby market to find a perfect size or alter them in case of any mismatch. Before choosing any pallet, make sure that it can be used for a more extended period.

Bring Them Into The Right Size And Right Shape
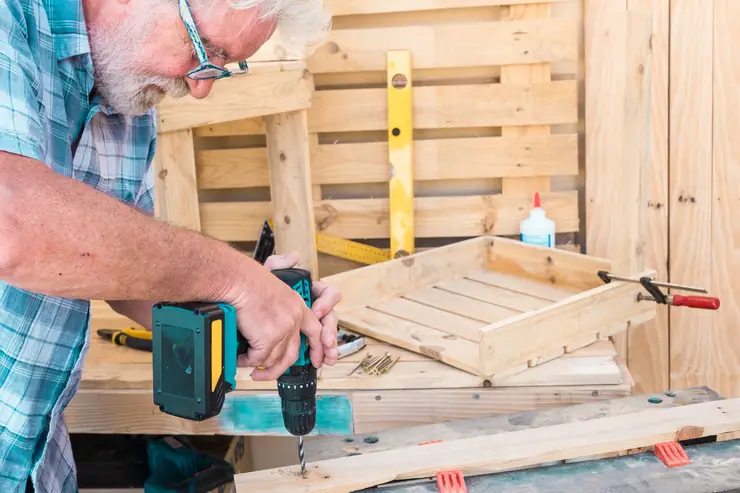
It’s time to bring them into the right and required shape! Using a measuring tape, you can take the required size and mark each side with a pencil. Splitting the beds up takes sufficient time and energy. With the help of a saw, you can easily cut the closures. Separate the wood from the middle to prevent it from getting damaged. This should give you 8 to 14 sheets for every bed. Eliminate nails from the slat’s braces. Cut each bit of wood to suitable lengths. When it comes to edges, make sure to cut them quite smoothly for fine finishing. Utilizing a 3mm boring apparatus, make an opening around 2.5cm from the finish of each length to stop the wood parting when you put in the screws.

Form A-Frame
Layout two 100cm, 60cm, and 40cm lengths to form the frame. Butt one end of each size up to the next with the drilled holes on the side. Check the angles with the try square before fitting a screwdriver attachment and fixing the frame with 7.5cm screws.
What I love about the wooden boxes the most is that you can assemble them in your desired shape and size. In order to form a frame, you need to build them in the selected frame type. When it comes to wooden planting boxes, you need to decide the shape. Spread out two 100cm, 60cm, and 40cm lengths to shape the edge. Take a look at the square’s points before fitting a screwdriver connection and fixing the casing along with 7.5cm screws.

Prepare A Bottom For The Frame
Slice the board to the suitable lengths for the base. Spot the base sheets on the casing. Relax if there are holes up to 5cm wide between the sheets as the planter will be lined. Pre-drill the base sheets, check the container if it is in the required shape, then, at that point, join the sheets to the case using screws at the distance of 5 cm.
Join The Frame With Bottom
When joining the frame, you need to be careful enough to acquire a perfect shape while maintaining the ratio. Now take planks that you have cut and fix them on the frame with 7.5 cm screws. You can use any screw size as per your frame requirement. Keep repeating the process until you acquire a perfect box shape.
Assemble Sides
Once you have done joining all pieces now, you can attach sides to smoothen the edges of a box. Although connecting the side is not that hard, you should beware as some beginners misbalance the actual size at joining the sides.
Trim The Sides And Clean Up Top
If you don’t have a trimmer, you can do it manually by trimming stiff paper. With a trimming machine, you can sand the top area of your frame and clean it up to make it harmless and smooth for your hands.
Paint Your Pallet Box Before Moving To Garden
The final look of your pallet plant box should always be mesmerizing! Hence for this, you can decorate the outside either using oak stain or any paint of your choice.
Prepare Your Wooden Container For Plantation
Once the paint has dried out now, you can fill it with soil to sow a seed. You can grow any plant that fits the size.
Frequently Asked Questions
Do we need to line the wooden planter box?
If your planter is made with wood or metal then the line is essential to prolong its life span. In contrast, for plastic, ceramic, and concrete planters then you don’t need to give them a line.
Will a wooden planter box rot?
Yes, wooden planters usually get rotten quickly especially when they have weak bottoms. In order to prevent them from rotting, you can use a pot to plant anything inside the wooden planter. The greenery around the pots will conceal the compartments.
How do we keep drainage holes open in a wooden planter box?
You can keep the drainage whole open while placing a plastic sheet or metal screen cloth right in the bottom of your wooden planter. Hence for this, you can also put shards of the broken flower pots. Open drainage holes will also prevent your planter box from rotting.
How do we prolong wooden planter box lifespan?
A fully functioning drainage system and disinfecting previously used wooden planters will enhance their lifespan and longevity.
Wrap Up
Wooden pallet boxes are not just a cheap source, but you can also make them quickly. Moreover, you can use them with any exterior style of your outdoor decor. We hope that our step by step guide will help you make a perfect wooden container for your home.


